1、搭建apollo
1.1 快速接入apollo
1
2
3
4
| 参考文档:https://ctripcorp.github.io/apollo/#/zh/deployment/quick-start
我本地目录在E:\my\apollosource\apollo-quick-start-1.8.0
执行./demo.sh start
apollo 控制台:localhost:8070
|
1.2 源码调试apollo
1
2
3
4
5
6
7
8
9
10
11
12
13
14
15
| 参考文档:https://ctripcorp.github.io/apollo/#/zh/development/apollo-development-guide
我本地目录在E:\my\apollo-new
apollo application vm配置如下
-Dspring.datasource.url=jdbc:mysql://127.0.0.1:3306/ApolloConfigDB?characterEncoding=utf8
-Dspring.datasource.username=root
-Dspring.datasource.password=
portal vm配置
-Dapollo_profile=github,auth
-Ddev_meta=http://localhost:8080/
-Dserver.port=8070
-Dspring.datasource.url=jdbc:mysql://127.0.0.1:3306/ApolloPortalDB?characterEncoding=utf8
-Dspring.datasource.username=root
-Dspring.datasource.password=
|
1.3设置2个项目
设置2个项目,名称分别为SampleApp和QiSuqiuApp,对应下方的2个demo
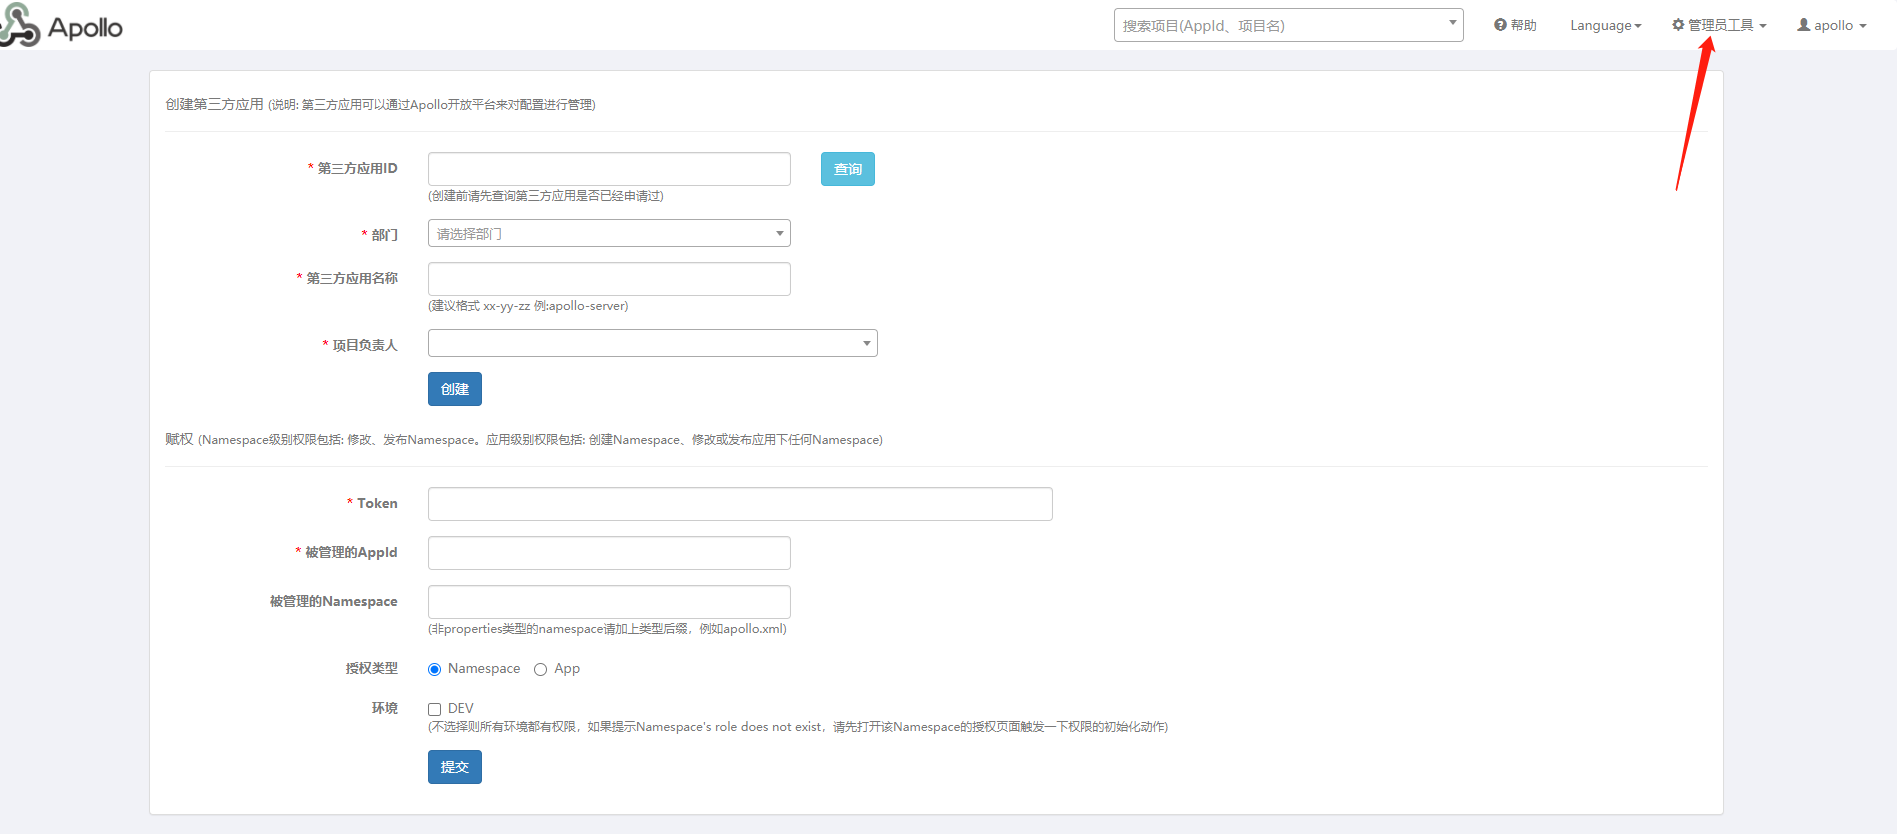
1.4 设置token(在sentinel配置中需要用到)
1
2
| 配置在: 管理员工具->开放平台授权管理
一个token可以配多组appid
|
2、搭建sentinel
1
| 代码地址:https://github.com/gaoqiuling/sentinel-dashboard
|
3、2个demo
1
| 代码地址:https://github.com/gaoqiuling/sentinel-apollo-demo
|